Eyes are often considered the focal point of any makeup look, but not all eye makeup techniques work universally. Each eye shape has unique characteristics that can be enhanced with specific application methods. In this comprehensive guide, we'll explore how to identify your eye shape and master techniques that will make your eyes look their absolute best.
Identifying Your Eye Shape
Before diving into specific techniques, it's important to understand what eye shape you have. Look at your eyes in a mirror with a neutral expression and consider these characteristics:
Almond Eyes
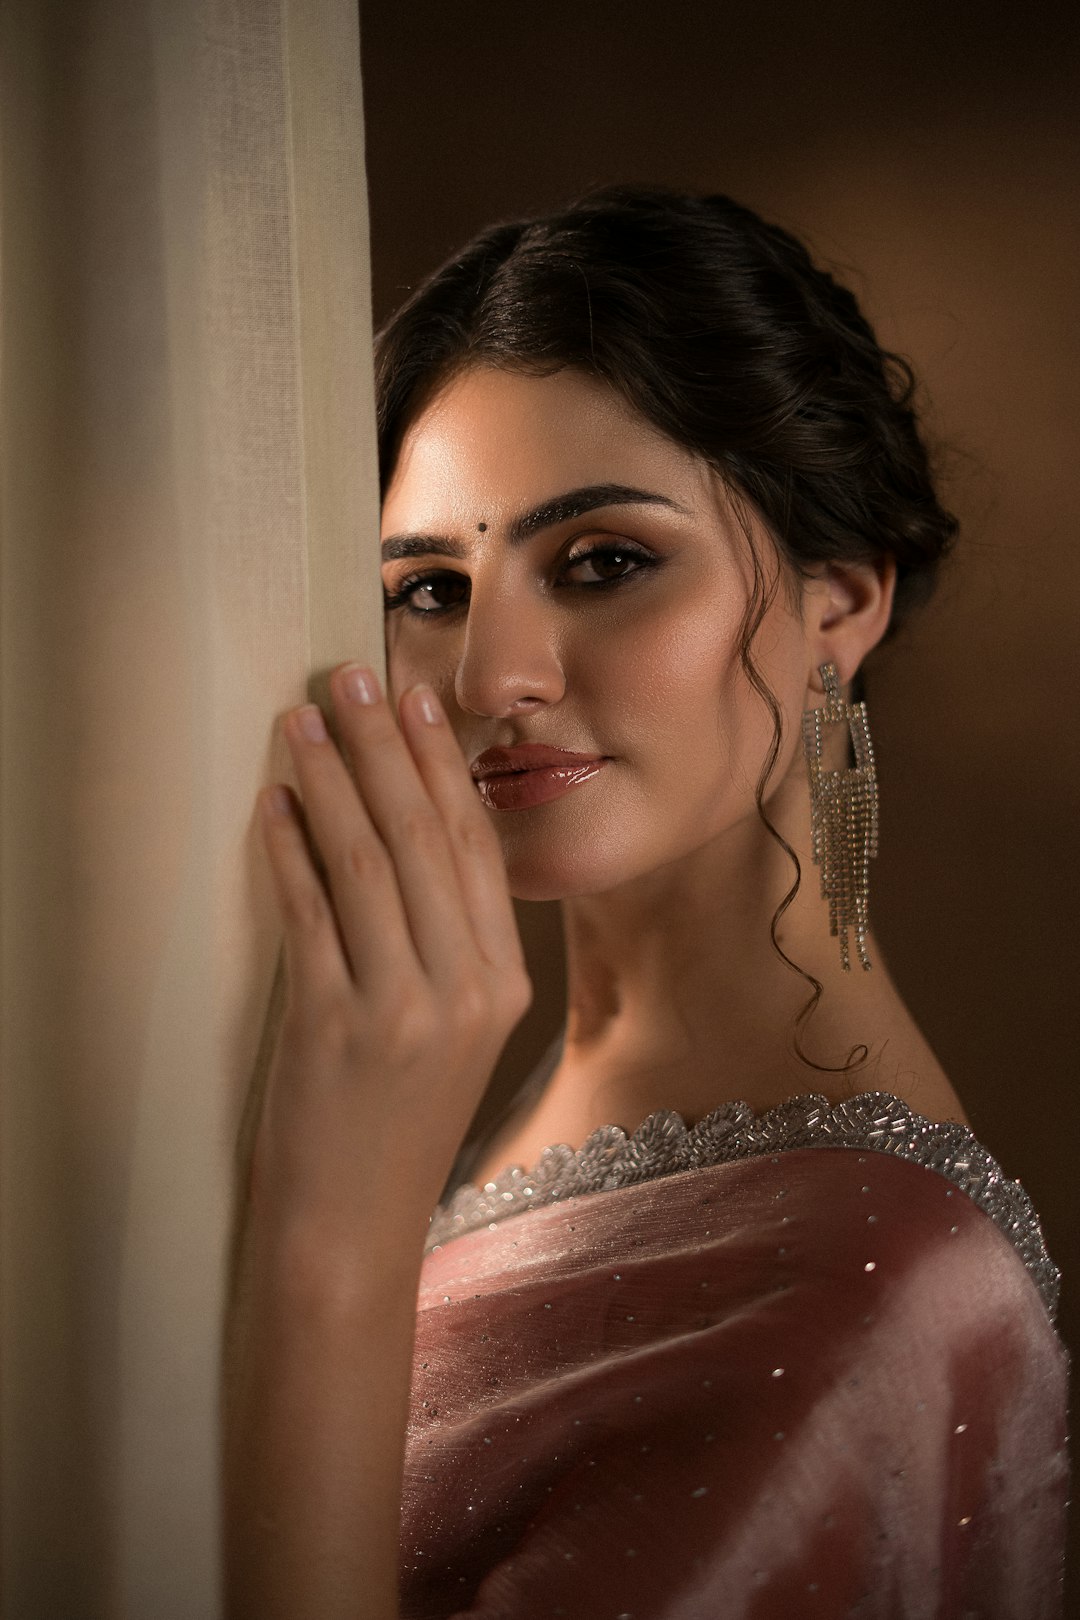
Almond eyes have a slight upward tilt at the outer corners and a visible crease when the eyes are open. The iris typically touches both the top and bottom lash lines, with some white showing. This shape is often considered the "standard" in makeup tutorials.
Hooded Eyes
With hooded eyes, a fold of skin droops over the crease, making the lid appear smaller or sometimes completely hidden when eyes are open. Many people develop hooded eyes with age, while others have them naturally.
Monolid Eyes
Monolid eyes have little to no visible crease. The transition from the lid to the brow bone is smooth without a defining fold.
Round Eyes
Round eyes appear circular with visible white all around the iris. They tend to be wide-set and look large and open even without makeup.
Downturned Eyes
The outer corners of downturned eyes tilt slightly downward. When drawing an imaginary line across the eye, the outer corner sits below this line.
Upturned Eyes
The opposite of downturned, upturned eyes have outer corners that tilt upward, creating a natural "cat eye" effect.
Deep-Set Eyes
Set deeper into the skull, deep-set eyes create a prominent brow bone that casts a shadow on the eyelid.
Protruding Eyes
Protruding eyes appear to bulge slightly from the eye socket, creating a lot of visible lid space.
Many people have combination eye shapes, such as hooded and downturned or almond and deep-set. Identify your primary characteristics to guide your makeup application.
Tailored Techniques for Each Eye Shape
Almond Eyes
Considered versatile, almond eyes can pull off most eye makeup techniques. To enhance this shape:
- Eyeshadow placement: Apply medium-toned shadow through the crease, slightly extending it outward at the corner.
- Eyeliner approach: You can wear liner any way you like—thin, thick, winged, or smudged.
- Key tip: Focus on enhancing the natural almond shape by applying darker shadows at the outer V.
Complementary looks: Classic smoky eyes, cat-eye liner, and halo eye techniques all work beautifully on almond eyes.
Hooded Eyes
The goal with hooded eyes is to create the illusion of more lid space and prevent shadow from disappearing when eyes are open.
- Eyeshadow placement: Apply shadow with eyes open to ensure placement is visible. Focus on creating definition above the natural crease, where it will be visible.
- Eyeliner approach: Thin liner that thickens toward the outer corner works best. Keep the line as close to the lashes as possible to maximize visible lid space.
- Key tip: Use matte shadows for crease work as shimmer can emphasize the hood. Apply a light, matte shade all over the lid to create the illusion of more space.
Techniques to avoid: Heavy liner all around the eye can make hooded eyes appear smaller. Also avoid placing dark colors on the mobile lid only, as they'll disappear when the eye is open.
Monolid Eyes
Monolids offer a smooth canvas that's perfect for creating dimension through color gradients:
- Eyeshadow placement: Create a gradient effect from the lash line upward, with darker colors near the lashes and gradually lighter as you move up.
- Eyeliner approach: A slightly thicker line can help define the eyes. Consider a subtle wing that follows the natural eye shape.
- Key tip: Use shimmery or satin finishes on the center of the lid to create dimension and the illusion of a crease.
Complementary technique: "Vertical gradient" application, where color intensity changes from lash line to brow, rather than from inner to outer corner.
Round Eyes
Round eyes already appear large and open. Techniques for this shape often focus on elongating and adding definition:
- Eyeshadow placement: Concentrate darker colors on the outer corners to elongate the eye shape. Extend shadow slightly beyond the outer corner.
- Eyeliner approach: Wing your liner outward to create the illusion of an almond shape. Consider tight-lining the upper waterline to define without closing the eye.
- Key tip: Avoid placing dark colors all around the eye, which can emphasize roundness. Instead, focus intensity at the outer third.
Flattering look: Cat-eye techniques work particularly well for round eyes, creating a beautiful elongated effect.
Downturned Eyes
For downturned eyes, the goal is to create a subtle lift at the outer corner:
- Eyeshadow placement: Apply darker shadow in a diagonal upward motion at the outer corner, creating a lift. Keep the darkest colors above the natural downward slope.
- Eyeliner approach: Create a thin wing that angles upward to counterbalance the downward tilt.
- Key tip: Avoid dragging liner or shadow downward at the outer corner, as this will emphasize the downturned shape.
Try this: Highlight the inner corner and center of the lid to draw attention upward and inward rather than to the outer corners.
Upturned Eyes
Upturned eyes have a natural lift that can be further enhanced:
- Eyeshadow placement: Emphasize the natural lift by applying darker colors at the outer corner in an upward motion.
- Eyeliner approach: Follow the natural upward tilt with a wing that extends the eye shape.
- Key tip: Balance the upturned outer corner by adding definition to the lower lash line, focusing on the outer third.
Perfect pairings: Fox eye techniques and elongated shadow shapes complement upturned eyes beautifully.
Deep-Set Eyes
With deep-set eyes, the goal is to bring the eyes forward and minimize shadows:
- Eyeshadow placement: Use light, reflective shades on the lid to bring it forward. Apply medium tones very slightly above the crease to minimize the appearance of the deep set.
- Eyeliner approach: Keep liner thin and close to the lash line to maximize visible lid space.
- Key tip: Highlight the brow bone very subtly, avoiding overly frosted shades that can emphasize the deep-set nature.
Consider avoiding: Very dark colors all over the lid, which can make eyes recede further.
Protruding Eyes
For protruding eyes, techniques focus on creating depth and dimension:
- Eyeshadow placement: Use matte, medium to dark shades on the lid to create the illusion of depth. Blend carefully to avoid harsh lines.
- Eyeliner approach: Line both the upper and lower lash lines to create definition. Tight-lining the upper waterline can be particularly effective.
- Key tip: Avoid highlighting the center of the lid or using very shimmery shadows, which can make the eyes appear more prominent.
Effective technique: Soft smoky eyes using matte shades work well to create the illusion of depth.
Universal Eye Makeup Tips
While specific techniques vary by eye shape, some principles apply universally:
Proper Tools Make a Difference
Invest in quality brushes designed for eye makeup:
- A small, precise crease brush for detailed work
- A fluffy blending brush for seamless transitions
- A flat shader brush for lid application
- A small, angled brush for precise liner application
Primer is Non-Negotiable
Regardless of eye shape, a good eyeshadow primer creates a smooth base for application, prevents creasing, and enhances color payoff. This is particularly important for hooded or oily lids.
Blend, Blend, Blend
Harsh lines draw attention to features you may not want to emphasize. Take time to blend shadow edges for a professional finish that enhances your natural eye shape.
Consider Your Eye Color
While this guide focuses on eye shape, remember that certain shadow colors can make your eye color pop:
- Blue eyes: Copper, bronze, and warm browns
- Green eyes: Purple, mauve, and rusty reds
- Brown eyes: Navy, cobalt blue, and emerald green
- Hazel eyes: Purple, forest green, and bronze
Makeup Techniques for Specific Scenarios
Glasses Wearers
If you wear glasses, consider these adjustments based on your eye shape:
- For magnifying lenses: Use lighter colors and more subtle application as glasses will make everything appear larger
- For prescription lenses that make eyes appear smaller: Increase the intensity of your eye makeup slightly to compensate
- For all glasses wearers: Focus on defining brows and lash lines, which frame the eyes through glasses
Mature Eyes
As we age, our eye shape can change. Hooding often becomes more pronounced, and skin texture changes. Adapt with these techniques:
- Use primer specifically designed for mature skin
- Opt for matte or satin finishes rather than high shimmer, which can emphasize texture
- Focus on lifting techniques, particularly at the outer corners
- Use cream products, which tend to sit better on mature skin than powders
Professional vs. Evening Looks
Adapt intensity based on the occasion while maintaining techniques that flatter your eye shape:
- For day/professional: Use lighter colors but maintain the same placement principles for your eye shape
- For evening: Intensify colors and consider adding a touch of shimmer or metallic finish to enhance dimension
Common Mistakes to Avoid
Following Tutorials Not Meant for Your Eye Shape
Many popular makeup tutorials feature models with almond eyes. Be aware that these techniques may need significant adaptation for other eye shapes.
Ignoring Your Brow Shape
Your eyebrows frame your eyes and can dramatically impact how eye makeup appears. Ensure your brow shape complements your eye shape for the most flattering effect.
Using the Wrong Tools
Eye shapes with less visible lid space (like hooded eyes) often require more precise brushes, while larger eye shapes can accommodate fluffier blending brushes.
Stopping at the Eye's Edge
Don't be afraid to extend shadow or liner slightly beyond the natural eye shape when it suits your eye type. This can be particularly effective for round, downturned, or hooded eyes.
The Bottom Line
The most beautiful eye makeup isn't about following trends—it's about understanding and enhancing your unique features. By identifying your eye shape and applying techniques specifically designed to flatter it, you can create eye-catching looks that bring out your natural beauty.
Remember that many people have combination eye shapes, so feel free to mix and match techniques from different categories. The ultimate goal is to create makeup that makes you feel confident and beautiful, regardless of what's trending or what works for someone else.
With practice, you'll develop an intuitive understanding of what works best for your specific eyes, allowing you to adapt any makeup look to suit your unique features perfectly.